Masterbuilt Electric Smoker: Step-by-Step Beginner’s Guide
Want to become the BBQ king of your block? The Masterbuilt electric smoker is one of the easiest ways to get started. This guide will walk you through every step—seasoning your smoker, prepping your first cook, managing temps, and dialing in flavor—so you can smoke meat like a pro (without babysitting a fire all day).
Images are courtesy of Masterbuilt
🔥 Step 1: Season Your Smoker (Don't Skip This!)
Why? Burn off factory oils and start building flavor.
How to do it:
Wipe down the inside with a damp cloth.
Leave the water pan empty.
Preheat to 275°F and run for 3 hours.
After 1 hour, add a small handful of wood chips.
This kickstarts that flavorful smoky “season” that will build up over time and keep your meat tasting incredible.
🍖 Step 2: Prep for Your First Smoke
Once seasoned, it’s go-time.
Get set up like this:
Water Pan: Fill with water (apple juice or beer later if you’re feeling fancy).
Wood Chips: Add hickory, apple, or cherry—whatever matches your vibe.
Set Temp: Use the digital control panel to dial in your cook.
Preheat: Let it fully heat up before adding food.
Pro tip: Avoid adding cold meat directly from the fridge. Let it rest at room temp for ~30 minutes.
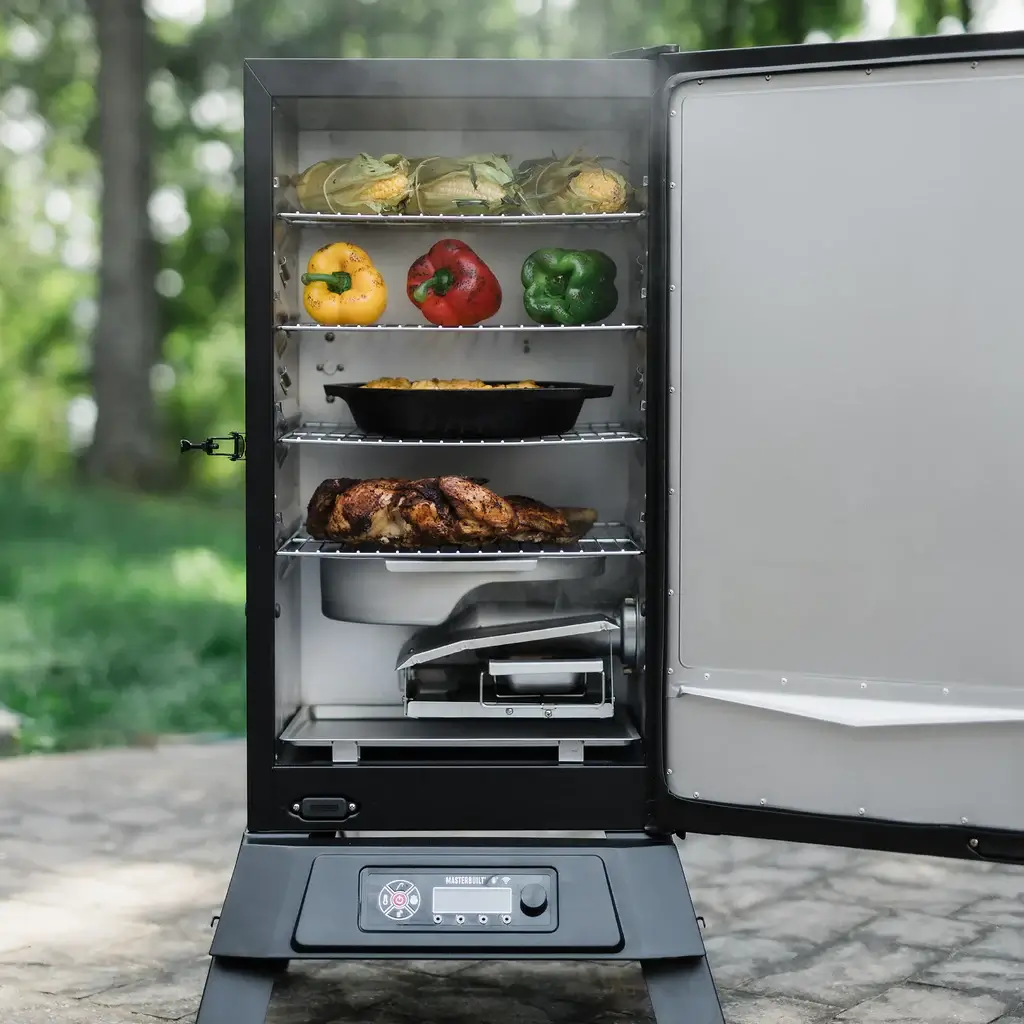
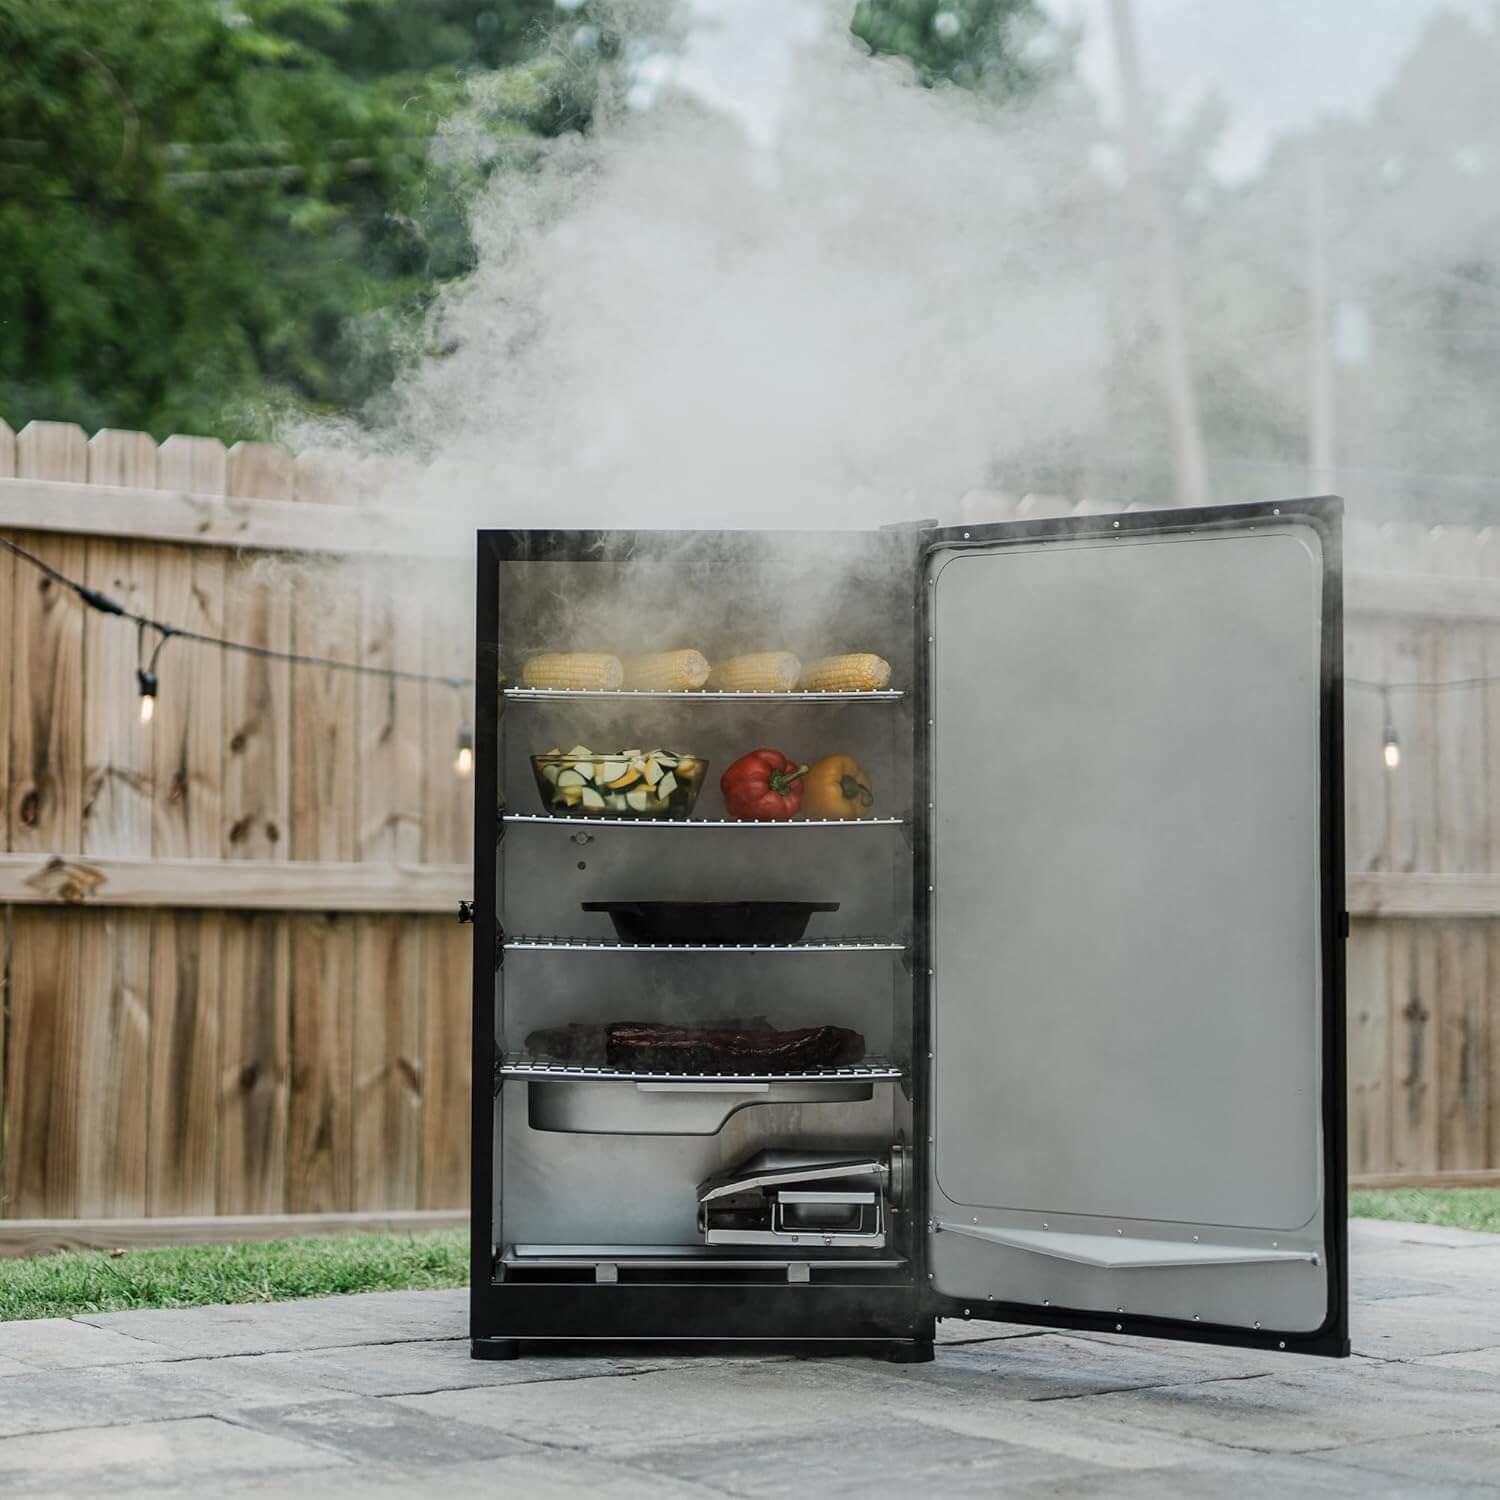
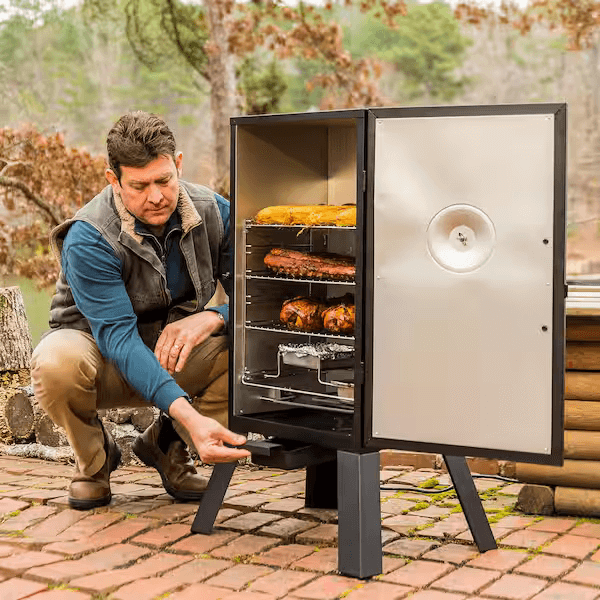
📦 Step 3: Place Your Meat (Rack Position Matters)
Top racks: Great for lighter meats like chicken or fish.
Bottom racks: Hotter zones—ideal for brisket, ribs, or pork shoulder.
Always use a meat probe and shoot for internal temps, not time. You’re aiming for precision, not guessing.
🚪 Step 4: Resist Opening the Door
Why it matters:
Every peek lets out smoke and heat = longer, less consistent cook times.
Instead:
Add chips using the chip loader every 30–45 minutes without opening the door.
Trust your thermometer. Set it and forget it.
💧 Step 5: Manage Moisture Like a Pro
Moisture = juicier meat.
Always keep the water pan full.
Refill as needed during the cook.
Bonus: Adding herbs or juice can lightly infuse aroma, but water alone works great.
🌡️ Step 6: Lock in Your Temps
Stay between 225°F and 275°F for most meats.
Use your smoker’s digital panel for accuracy.
Double-check with a reliable meat probe.
Too low? You’ll be waiting forever. Too high? Dry meat.
🌲 Step 7: Pick the Right Wood Chips
Each wood gives a different flavor:
Hickory: Bold, classic BBQ
Apple: Sweet and light
Cherry: Great for poultry and ribs
Try mixing for your own flavor profile. But remember: no need to keep opening the door to check—just let the smoke do its thing.
⏳ Step 8: Time It Right
Smoking = Low & Slow
Here are some rough estimates:
Ribs: ~5–6 hours
Pork Shoulder/Brisket: 10–14 hours
Chicken Thighs: 2–3 hours
Always go by internal temp, not the clock.
💡 Most meats are “done” at 165°F—but “BBQ tender” can be 195–205°F depending on the cut.
💡 Pro Tips for Smokin’ Success
Heat-Resistant Gloves: Save your hands.
Smoker Cover: Keep it clean and dry.
Ventilation: Always smoke outdoors.
Thermometers & Timers: Don’t eyeball it—use your tools.
🚀 Next-Level Tip: Focus Smoke Early
Most smoke flavor sets in during the first 3 hours. After that, focus on maintaining even heat and moisture.
Bonus points if you learn how adjusting the top vent changes your airflow and intensity of smoke.
🎉 Final Thoughts: Have Fun & Experiment
Mastering your Masterbuilt is a journey. Try new woods. Test different meats. Play with seasoning and mop sauces.
Best part? You’re learning a skill that makes people happy—and full.
So fire it up, trust the process, and let the smoke do the talking.